Moving From Windows To the Raspberry Pi
Back in August, I wrote about Choosing a Home In the Cloud, which described my attempt to become less dependent on Microsoft Windows. Since that time, I’ve moved more of my applications and data into the cloud, including:
- Moving my business accounting from Quickbooks to Xero.com.
- Using CodeAnywhere.com, an online Integrated Development Environment (IDE) to write and publish code for almost all of my website work.
- Using a hosted version of the Gimp image editor, accessed through a web browser. It’s not ideal (I prefer Adobe Fireworks) but it is a capable graphics editor.
But programs aren’t the only things that run on a local computer. There are also services, like printer management and backup. How would I access these things if I took my Windows computer out of the picture? The answer turned out to be the Raspberry Pi, a computer the size of a deck of cards, running the Linux operating system. A lot of research went into the decision to try this approach, because I knew that a significant investment of time would be needed to make it work. For anyone interested in trying it out, these are the steps and missteps that I took.
Pieces of the Pi
I wanted the Pi to take over three services from my Windows computer: 1) printer and scanner management, 2) the Logitech Music Server, which serves music files to my home stereo and 3) the Google Drive client, which provides a local backup of the files on my Google Drive account.
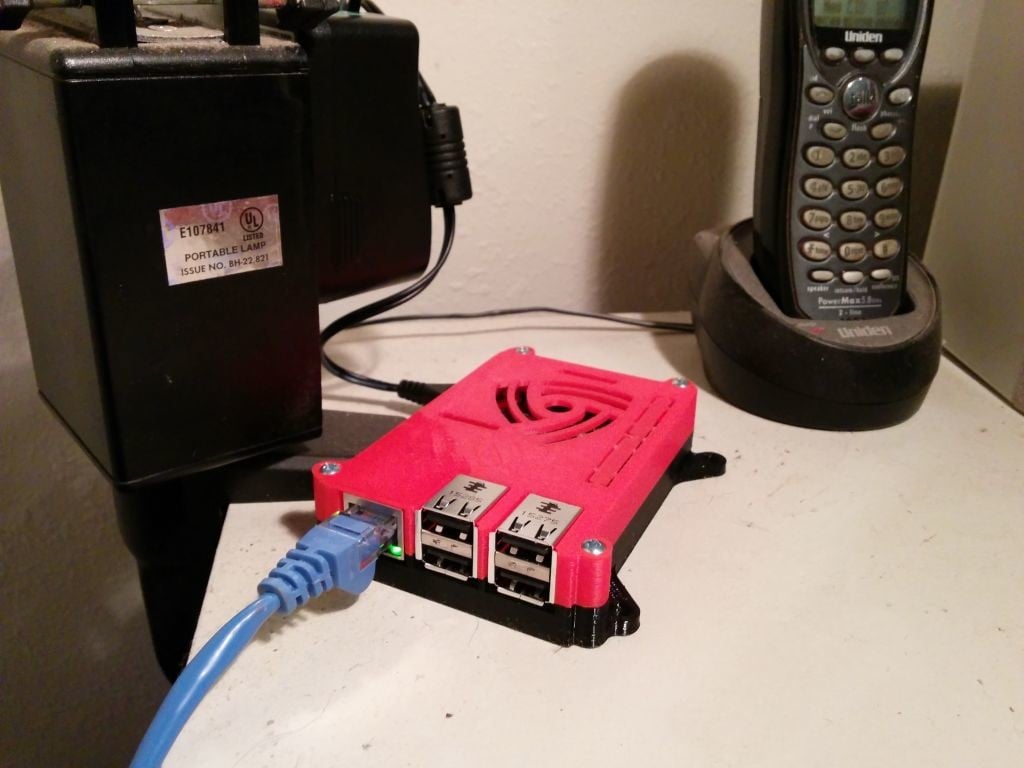
 The Raspberry Pi is a single board computer that includes a CPU, RAM, Ethernet port, 4 USB ports and HDMI video output. The list price is $35 and you can see the full specs here. While it is a fully self contained computer, it’s not really usable without some accessories and peripherals. It needs an AC adapter to provide power to the micro USB power connector (the same as most smartphones) and a case so that it can be handled without risk to its delicate innards. Its operating system and programs are stored on a Micro SD card and since I’ll be using it to store large amounts of data, it also needs an external USB hard drive. This was my parts list:
- Raspberry Pi 2/B+ and 2.5A Micro USB Power Supply
- 3D printed case, courtesy of the Mother Lode Makers, plans from Thingiverse.com
- SanDisk Ultra 16GB Class 10 Micro SD Memory Card
- USB 3.0 Card Reader
- USB external hard drive enclosure (I already had this)
- 640GB external hard drive (purchased used from eBay)
Total cost: $105.49
The 1,000 Piece Puzzle
If you’ve ever tinkered with Linux, you know it’s not for the faint of heart. It must be approached with patience and as a learning experience, much like a 1,000 piece jigsaw puzzle. Fortunately, there is a large and active Raspberry Pi community and the answer to just about any question can be found through Google. These were the steps I took to go from a collection of parts to a working system:
- Install the operating system on the SD card. The files can be downloaded from the Raspberry Pi Foundation. The Linux variant that runs on the Pi is called Raspberian and the current version is “Jessie” (named for the Toy Story character). I used the NOOBS (New Out Of the Box System) version, which just requires a simple download to the SD card. If your computer doesn’t have an SD card reader built in, you will need a USB card reader to transfer the files to the card. To get the OS up and running, it’s easiest to connect the Raspberry Pi to a monitor, keyboard and mouse. Once the initial setup it done, it can be run headless, i.e. controlled remotely from another computer. Pop the SD card in, connect a cable between the Pi’s Ethernet port and your router, connect the power and follow the prompts (instructions).
- Assign a local domain to the PI, so that you can access it using “raspberrypi.local”, instead of its IP address (instructions).
- Install the TightVNC remote server, so that you can disconnect the monitor, mouse and keyboard (instructions).
- Install VNC client software on a desktop or laptop computer connected to the same network as the Pi. I used the VNC Extension for Google Chrome. Connect from the remote computer to the Pi. Tinker with it for a while until you can see the Pi’s desktop (Google is your friend). It will probably use port 5900 or 5901.
- Install SSH software on a desktop or laptop computer, so that you can get to a command prompt on the Pi. I used the Secure Shell Chrome app. Once VNC and SSH are working, I found it easier to work remotely, rather than on the Pi itself.
- Connect a printer to the Pi. To do this, you must first install CUPS (Common Unix Printing Software). Many printers are supported by CUPS out of the box. If yours isn’t, try Googling your printer model, followed by “linux”.
- Install the Google Cloud Print CUPS Connector. This service allows any computer using a Chrome browser or Chrome OS to print to all printers connected to the Pi (instructions). Warning: On my system, the script provided to “Write the systemd gcp service file” didn’t work. I used the script from this page instead.
- Install Sane and Xsane to allow scanning using the Raspberry Pi’s graphic user interface. I was rather amazed that this worked (instructions).
- Mount the external USB hard drive, so that it’s always accessible at the same location when the Pi reboots (instructions). A couple of notes: the Pi doesn’t have enough voltage in its USB ports to reliably power a hard drive. It should either use an external drive with its own power supply or be connected to a powered USB hub. If the drive will be accessed from a Windows machine, it should be formatted using the NTFS file system.
- Install the sdparm hard drive utility, to ensure that the drive goes to sleep when not in use (instructions).
- Install Samba, to allow access to the file system from Windows computers (instructions). This allows directories on the Pi to be shared over the network and files to be moved back and forth.
- Install the Logitech Media Server (hardly anyone but me needs this). Note that there are lots of instructions online but most of them are outdated. I used the Debian Installer Package from the SlimDevices download page.
- Install a Google Drive client. This has taken a lot of trial and error, as Google doesn’t have an official Drive client for Linux. I ended up using a program confusingly called “Drive”, which was written by a member of the Google Drive team. It runs under the Go programming language, so that has to be installed too. The GitHub page for Drive is here.
 The Pi is now safely tucked away in the storage room with the other networking gear, out of sight and doing its thing. In addition to helping me escape from Windows, it’s also saving me money. I estimate the cost of running my Windows desktop 24/7 at about $150 per year. The Raspberry Pi and external drive should cost under $10. I’ve already gotten in the habit of turning my Windows computer off at the end of the day, since my printer and music files are now accessible through the Pi.
The next stage of this grand experiment will be to switch to a Chromebox as my primary computer and only turn the Windows box on as needed. Stay tuned….
