Website Images Explained
Images are an extremely important component of website design. They communicate ideas in ways that text can’t. They also provide places for the eyes to rest and focus. Without them, most people have a hard time maintaining their interest in all of the information being presented. So, given their importance, what do you need to know about the mechanics of website images?
Vector vs. raster
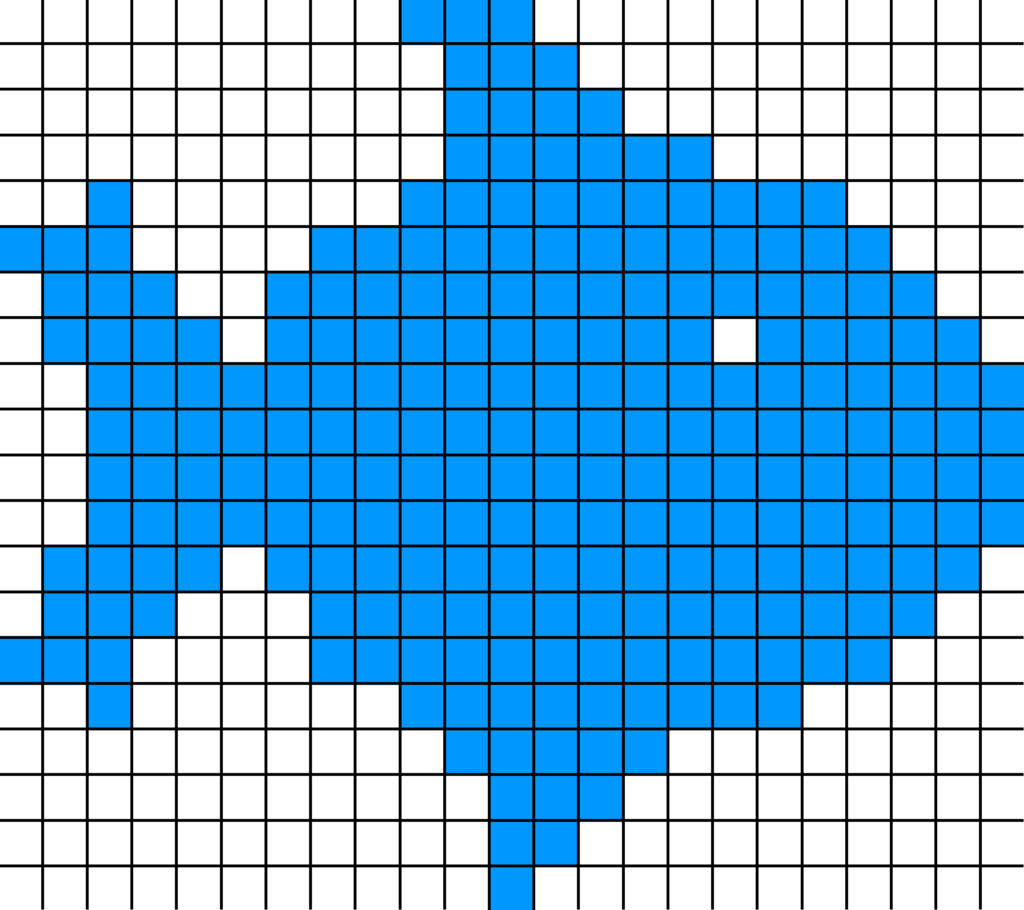
Vector images are not commonly used directly in web pages. These images are comprised of lines, curves and fills and are used in programs such as Adobe Illustrator to generate images. Their big advantage is that they can be scaled up or down as needed, even to billboard size. In contrast, raster (a.k.a. bitmap) images are made up of dots (pixels) and can only be scaled down. Raster images are what’s used on the web, so that’s what we’ll be talking about here.
Size vs. quality
In the early days of the web, internet speeds were so limited that large images took an unacceptably long time to load; literally minutes in some cases. Today’s much faster speeds make this less of an issue but fast page loading time is still important. There are two factors at play here: the physical dimensions of the image and the level of detail. Image dimensions are measured in pixels, as is the width of a computer display. The full width of my desktop monitor is 1920px. However, web sites aren’t designed to be displayed that wide, as they would be very uncomfortable to read. The body of a page (excluding banners and background images) is typically no more than 1100px. When choosing image sizes, remember that a smaller image has a smaller file size and is thus faster to load.
A common misconception is that an image’s level of detail is measured by its resolution in dots per inch (DPI). This is true in print but on a screen, changing DPI simply increases or decreases the dimensions of the image in pixels. The most common way of controlling quality is through the use of image compression. Compressed images have “thrown away” some number of pixels – hopefully ones that won’t be noticed – to reduce the overall file size. Image compression is often used in the JPG (a.k.a. JPEG) format. This format has a “quality” range from 0-100, with 100 being uncompressed and 0 being just a blur. The best compromise between file size and image quality for web pages is between 60-80. These settings are found in image editing software.
Setting size
There are two ways of controlling the size of images: 1) Use image editing software to scale the image (remember, smaller only) and save the resized image. 2) Instruct the web browser to display the image at a smaller size, using “height” and “width” attributes in HTML. The big disadvantage to option #2 is that the full image has to be downloaded before the image is scaled down. There is no improvement in page loading time, even though a smaller image is being displayed.
Some Content Management Systems, like WordPress, automatically create multiple sizes of each image that is uploaded. Each image size is available to be inserted into a web page and they are actually seperately sized images. Your web developer can control which size images are created.
Formats
Setting aside the animated GIF as a special case, the most commonly used image formats are PNG and JPG. Each format has features that make them best for different types of images.
PNG:
Image may have a transparent background. PNG includes an “alpha channel” that allows the background to have any degree of transparency. Use this format with image that have lots of solid color, such as a logo or other line art. Because PNG will not throw away pixels, all colors remain solid. Because it is uncompressed, a PNG image will have a larger file size (sometimes by a lot) than a JPG of the same dimensions.
JPG:
Photos should almost always be saved in JPG format for use on the web. Because they contain few solid colors, compression can be used to reduce file size without apparent loss of quality.
The background color in JPG is fixed. For photos this isn’t an issue but for other types of images, the background color must be set in an image editor. Most cameras save their images in JPG format with minimal or no compression. Add compression (i.e. decrease the quality number) in an image editor before using them on web pages.
Sharing images
When sending images to someone (like your web developer), please don’t embed them in other formats, like Word or PDF documents. This makes them much more difficult to work with and will often degrade their quality. Unless you have an image source file from Photoshop or Illustrator, the most versatile format to start with is PNG with a transparent background. The image can then be converted to whatever size and format is the most appropriate.
Web imagery is a big subject and there’s lots more I didn’t have room for. If you have specific questions, leave a comment and I’ll do my best to answer them.


